
The Latest
Revit family creation is the process of designing and customizing building components in Autodesk Revit, a 3D modeling software. Revit family creation is a crucial aspect of working with Autodesk Revit, enabling users to create customized elements like doors, windows, furniture, and more. Revit families allow greater flexibility in modeling and improve project accuracy. Here's a simple guide to understanding and creating Revit families:

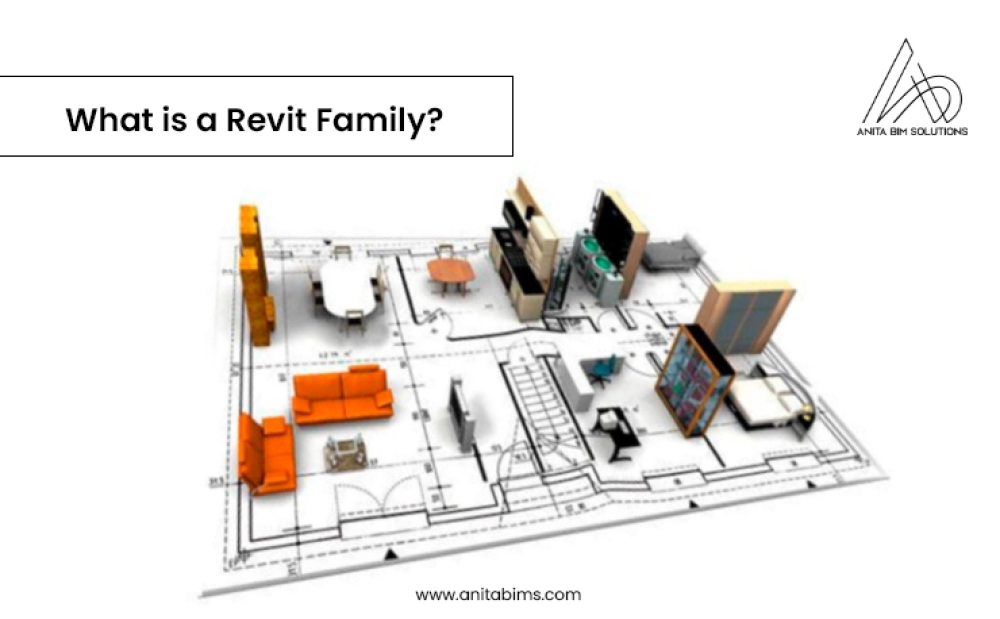
In Revit, a "family" refers to a group of elements that share similar properties but differ in some aspects, like size or material. For instance, a family of doors might include several types, with different dimensions or materials, all grouped under one category.
Revit families are classified into three main types:
Creating custom families allows you to:

1. Open Revit and Choose a Family Template
Start by opening Revit and selecting "New Family." Choose an appropriate family template based on what you are creating. For example, if you're making a door, select the "Door" template. This defines the behavior of your family, like how it interacts with walls.
2. Define Reference Planes
Reference planes act as guides that help you position and align the elements in the family. You should create reference planes for critical points, like the centerline or edge of the element.
3. Create Parameters
Parameters allow you to make your family flexible. For instance, if you're designing a window, parameters like height, width, and material can be defined, allowing you to easily modify them later.
4. Model the Family Geometry
Use Revit’s modeling tools to create the actual geometry of the family. You can draw 2D shapes and extrude them into 3D objects or use tools like "Sweep" or "Revolve" to create complex forms.
5. Assign Materials and Finishes
You can assign different materials to the family. For example, a chair could have wooden legs and a fabric seat. You can also add material parameters, so these materials can be changed in different projects.
6. Add Constraints
Constraints ensure that the geometry of the family responds to changes in the parameters. For instance, if you change the width of a door, the entire door frame should resize accordingly. Use dimension and alignment constraints to lock certain elements into place.